User images


Upload your own images
Upload your own image of the product. Or why not the result of using it?Reviews & comments
Be the first to give your opinion on the product
Love'n LayerStartkit Hand + Toe Light Pink & Grape Red
Solid Layers
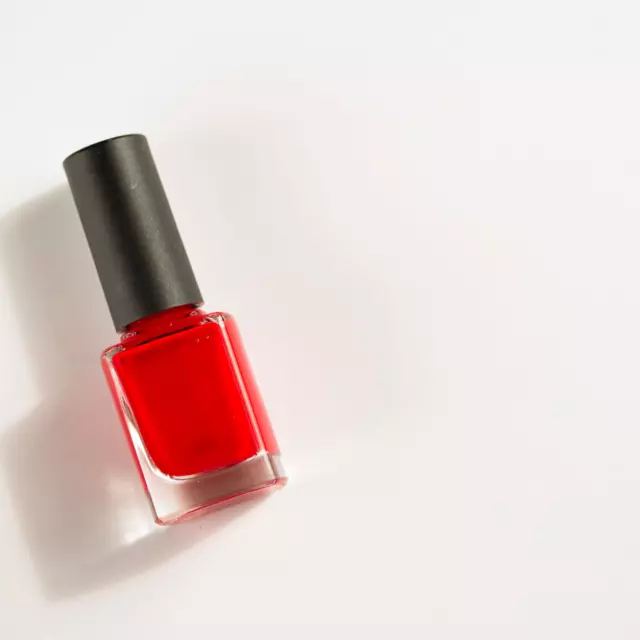
Do you like to match your manicure with the red wine in your glass? Grape Red is for you! Single solid color dark red Layers with a glossy surface.
With Layers you always get a perfect and long-lasting manicure. Quick, easy, and in the comfort of your own home.
To achieve the best finish, use our UV LED light and apply your Layers according to instruction.
Each pack contains 20 self-adhesive Layers.
Use:
Step 1.
Preparation
Always start by washing your hands carefully. It removes dirt and potential cosmetic residue. Remove any cuticle remnants from the nail bed and push back your cuticles. Let your nails dry properly to ensure that there isn’t any moisture left under the nail/cuticle.
Why is it important? Your Layers will stick better to a clean, dry, and smooth nail bed. The result will be more even, and your Layers will stay immaculate longer.
Step 2.
Choose
Remove the protective plastic from your sheet of Layers. Choose the right size Layer by comparing the different Layers to your nails - you want to pick a size that is as close to the size of the nail as possible. Are you between sizes? Choose the smaller of the two, and stretch it sideways across the nail bed - it gives a cleaner finish and a more durable result.
Step 3
Place
Apply the Layer to your nail, place it gently on the nail bed, start at one side, close to the cuticle, and press the Layer toward the other side. To achieve the best result, apply the Layer carefully on your nail so that it is placed on the nail bed and not on the skin, and make sure that it fits snug too, but not on, your cuticle - the Layers are soft and can be stretched for maximum coverage.
Step 4.
Adjust
Pull the layer over the tip of the nail, almost like pulling a fitted sheet over a mattress. Use a nail/fingertip or a nail file to press the Layer around the front edge of the nail. Remove the excess by pinching it off and/or using a nail file.
Step 5.
Make it last
Place your nails under the UV LED lamp, one hand at a time. Push the button and keep your nails under the UV light until the light goes out after 60 seconds. The light from the lamp hardens the material. That increases the durability of the manicure and gives the nails a glossy, lustrous finish. Make sure you place all nails under the lamp.
Step 6.
You nailed it
Your manicure is too good not to share with the rest of the world! Take a picture of your nails and post on social media. Don’t forget to tag @lovenlayer, @lyko and of course #younailedit
Step 7.
Removal
Time to switch color or pattern? This is how you remove your old Layers. Start at the bottom by the cuticle. Slowly and carefully peel the Layer off. If you find it difficult to remove the Layer you can use some nail oil. Drop the oil underneath the Layer by the cuticle and wait for 2 minutes. Peel the Layer off slowly. Wash your hands carefully with soap and water.
Before putting on a fresh set of Layers, remove any cuticle remnants from the nail bed and push back your cuticles. Make sure your nails are completely dry to avoid that there is any moisture left under the nail bed or cuticle. Make sure that the nail bed is softer than it usually is.
Toe Layers
Solid Grape Red also for a perfect pedicure, yes please! Toe Layers in a solid deep red color with a glossy finish.
With Layers you always get a perfect and long-lasting pedicure. Quick, easy, and in the comfort of your own home.
To achieve the best finish use our UV LED light and apply your Layers according to instruction.
Each pack contains 32 self-adhesive Layers customized for toenails.
Use:
Step 1.
Preparation
Always start by washing your feet carefully. It removes dirt and potential cosmetic residue. Remove any cuticle remnants from the nail bed and push back your cuticles. Let your nails dry properly to ensure that there isn’t any moisture left under the nail.
Why is it important? Your Layers will stick better to a clean, dry and smooth nail bed. The end result will be more even and your Layers will stay immaculate longer.
Step 2.
Choose
Remove the protective plastic from your sheet of Layers. Choose the right size Layer by comparing the different Layers to your own nails - you want to pick a size that is as close to the size of the nail as possible. Are you between sizes? Choose the smaller of the two, and stretch it sideways across the nail bed - it gives a cleaner finish and a more durable result.
Step 3
Place
To apply the Layer on your nail, place it gently on the nail bed, start at one side, close to the cuticle, and press the Layer toward the other side. To achieve the best result, apply the Layer carefully on your nail so that it is placed on the nail bed and not on the skin, and make sure that it fits snug to, but not on, your cuticle - the Layers are soft and can be stretched for maximum coverage.
Step 4.
Adjust
Pull the layer over the tip of the nail, almost like pulling a fitted sheet over a mattress. Use a nail/finger tip or a nail file to press the Layer around the front edge of the nail. Remove the excess by pinching it off and/or use a nail file.
Step 5.
Make it last
Place your toenails under the UV LED lamp, one foot at a time. Push the button and keep your nails under the UV light until the light goes out after 60 seconds. The light from the lamp hardens the material. This increases the durability of the pedicure and gives the nails glossy lustrous finish. Make sure you place all nails under the lamp.
Step 6.
You nailed it
Your pedicure is too good not to share with the rest of the world! Take a picture of your toenails and post on social media. Don’t forget to tag @lovenlayer, #lovenlayer and of course #younailedit
Step 7.
Removal
Time to switch color or pattern? This is how you remove your old Layers. Start at the bottom by the cuticle. Slowly and carefully peel the Layer off. If you find it difficult to remove the layer, use some nail oil. Wash your hands carefully with soap and water. Before you put on a fresh set of Layers remove any cuticle remnants from the nail bed and push back your cuticles. Make sure your nails are completely dry to avoid that there is any moisture left under the nail bed or that the nail bed is softer than it usually is.
- Category:Gel Polish